My intention was to weave a stitched double weave shawl. The draft was based upon the work I did with stitched double weave to produce a wall hanging. I decided to take one motif (a diamond) and use it to stitch together two loose plain weave layers. My yarn was bendigo 2 ply that normally sets at 14 epi for plain weave so I decided on 12 epi for each layer making an overall sett 0f 24 epi. I carefully sampled this and was happy with the result.
Where I went wrong was when I amended the draft to 22shafts, with two left over for selvedges (which you don't need for plain weave!). For some reason that I can't now fathom I decided that a point threading was the way to go. I amended the draft and produced a new .wif and it all looked good. At the time I was very pleased with myself as i can see from what I wrote: -
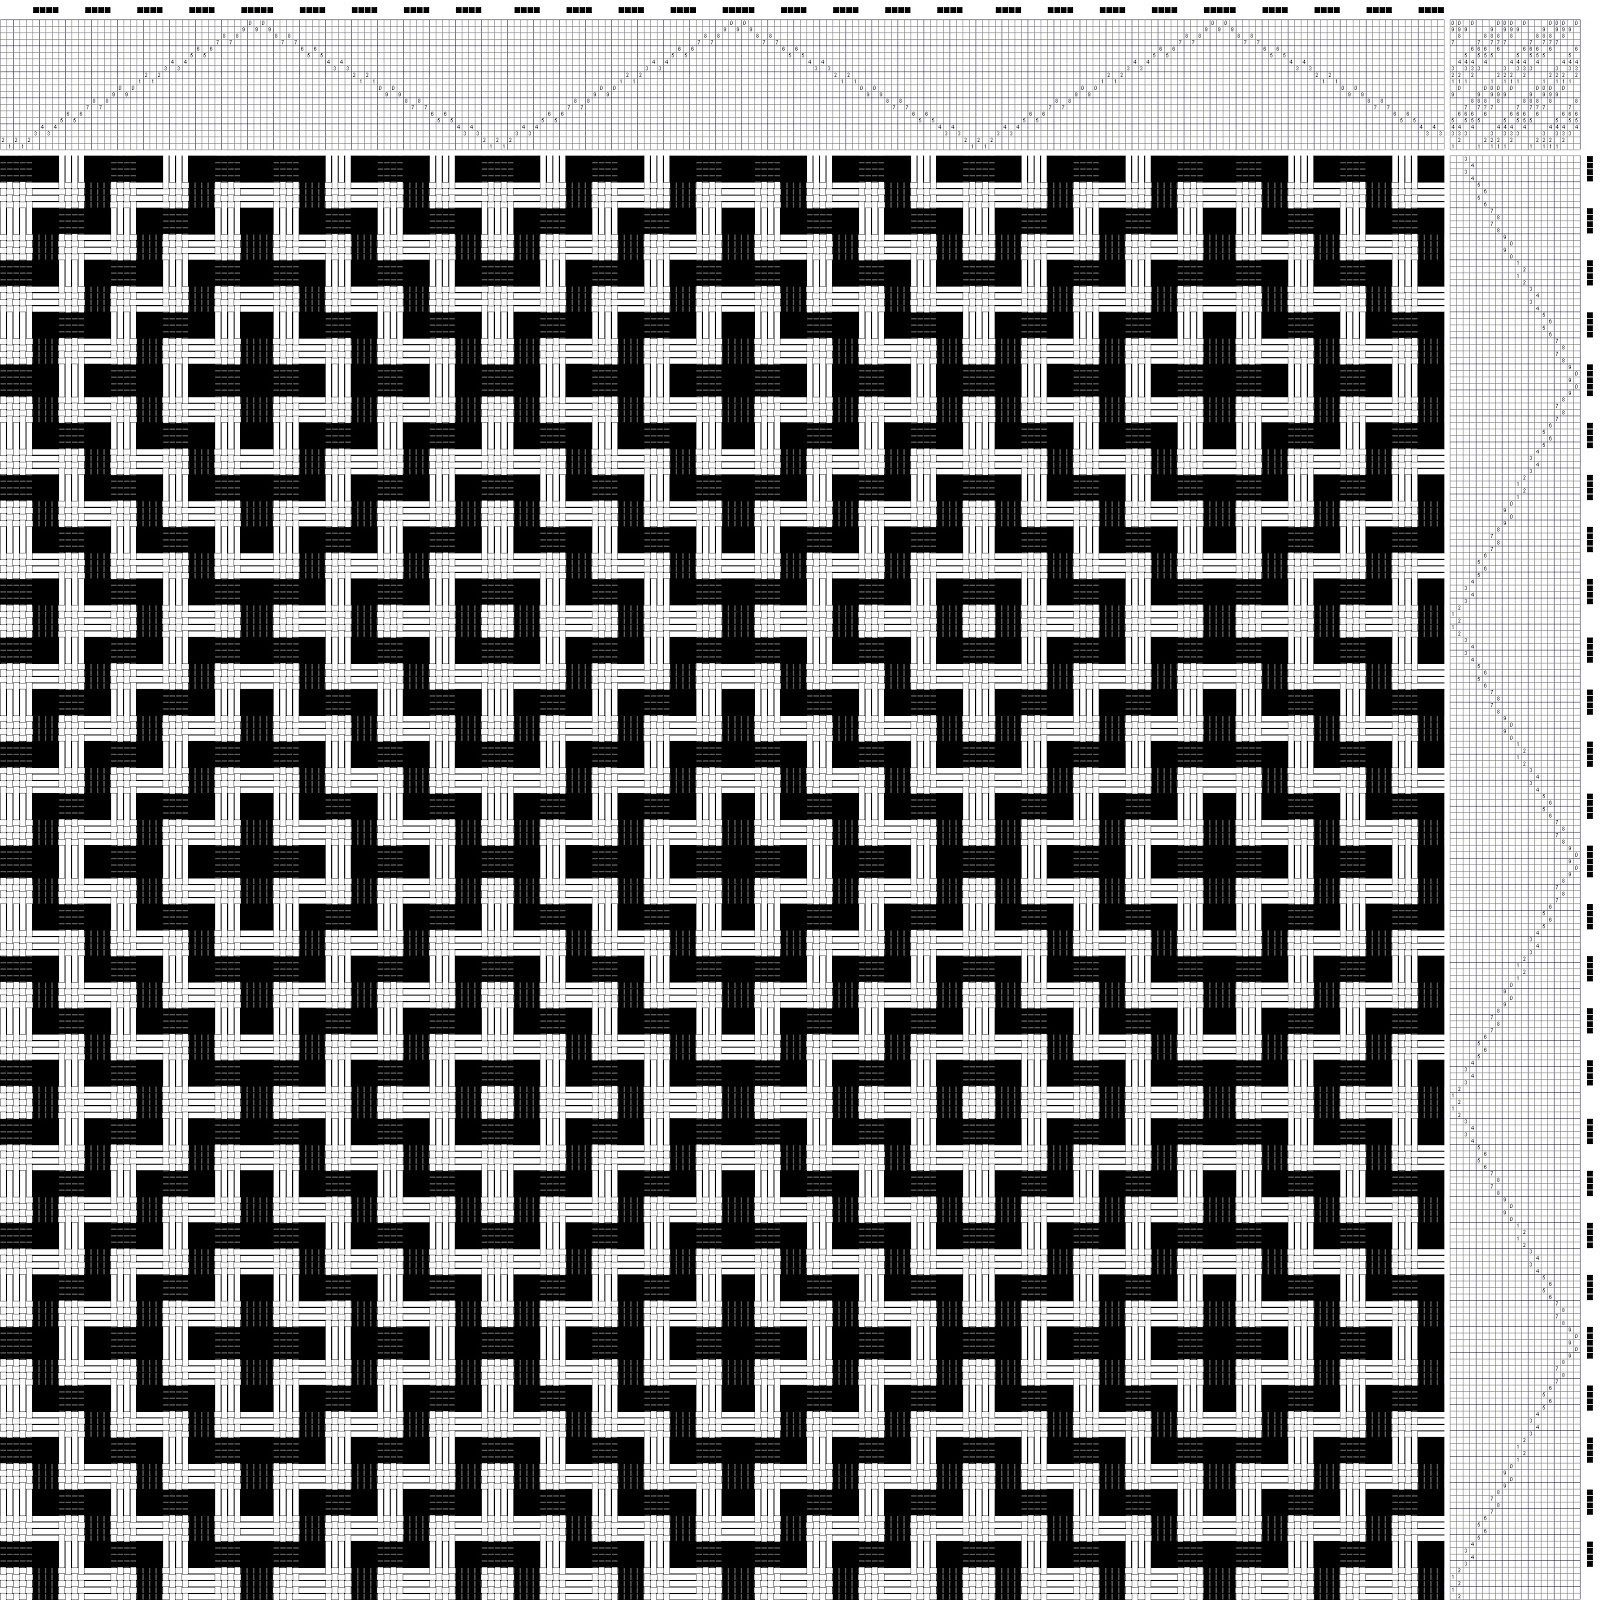
Bi colour warp on pointed threading
I put on the warp the loom, battled through the initial stickiness and with help worked out how to a use the sandpaper beam effectivly and started weaving. Disaster, unexpected floats appeared. Investigation showed that my design was flawed - you can't weave two layers of plain weave on a pointed draft. Once I realised the problem it seemed obvious. One layer of double weave is woven on the odd shafts, the other on the even shafts. With a pointed draft you are going to get two adjacent threads in a layer on the same shaft whenever the draft turns.

As I had spent a fair bit of time getting the warp on I was keen to use it for something so I decided to try a turned taquete draft. Again it looked OK on paper (or strictly speaking "on computer") but having woven about six inches, using 28/2 alpaca-silk as the weft, I don't think that is going to work. It looks insipid because the warp colours were selected for the double weave shawl and do not suit the new draft and as everyone says, you should use something shiny.
So, I am going to bite the bullet and re thread to a straight 24. Several lessons learnt but this double weave shawl is going to be good when it is done!


