Pages

Thursday, March 11, 2021

Pipe Loom

I did a bit of research on the web and then I built an Archie Brennan style pipe loom. Very straightforward process. The lengthiest procedure was removing the labels from the pipes.
The next thing will be to put on a warp and some leashes.

There is a lot of useful information on the web.

Loom ExamplesType
MaterialWidth
Height
Small Galvanised LoomTable1/4" iron6"24"
AB. Basic Copper LoomTable3/4" copper14"32"
AB. Black PipeFloor1" iron4'6"7'
AB. Freestanding CopperFloor3/4" copper20"var
Sarah - Iron LoomsTable1/8" iron7.5"18"
Floor1" iron18"var

Friday, February 19, 2021

Abstract Tree

Soumak Tapestry - Abstract Tree


This tapestry is based on a watercolour by Carolina Martinez. I wove it using a variety of soumak knots, varying them to try to get some texture and movement. It was very satisfying to weave and was looking quite reasonable on the loom. When I cut it off various distortions appeared and I had to block like crazy to get it back towards the rectangular. I have been pondering as to the reason for this and I have the following possible causes.
-Knots tied at different tensions
-No plain weave between the rows of soumak
-Uneven distribution of line soumak (used for the tree) and dot soumak (used for the background).

The photographs below some of the stages in the weaving. I wove it intermittently over a period of 10 months.


Technical
7 1/4 x 10 8/10 "
10 epi
Warp:- 98 ends of 12/9 seine twine
Weft:- 3 strands Bendigo 2 ply wool


Saturday, August 1, 2020

Monday, May 11, 2020

Soumak Doodles

 These pictures various stages of a little bit of fun that I been having with soumak. I referred to various You Tube videos and the magnificent "P. Collingwood- The Techniques of Rug Weaving". There was a bit of warp pulling with the curved piece.


Monday, April 20, 2020

Tapestry with supplementary warps


 Supplementary Warp Tapestry

I wove this between October 2019 and March of the following year. It started as a straight forward sampler loosely following the first one in Nancy Harvey's book "Tapestry Weaving - A Comprehensive guide. As I went I put in some supplementary warps and wove them in various fashions to have areas of doubleweave.


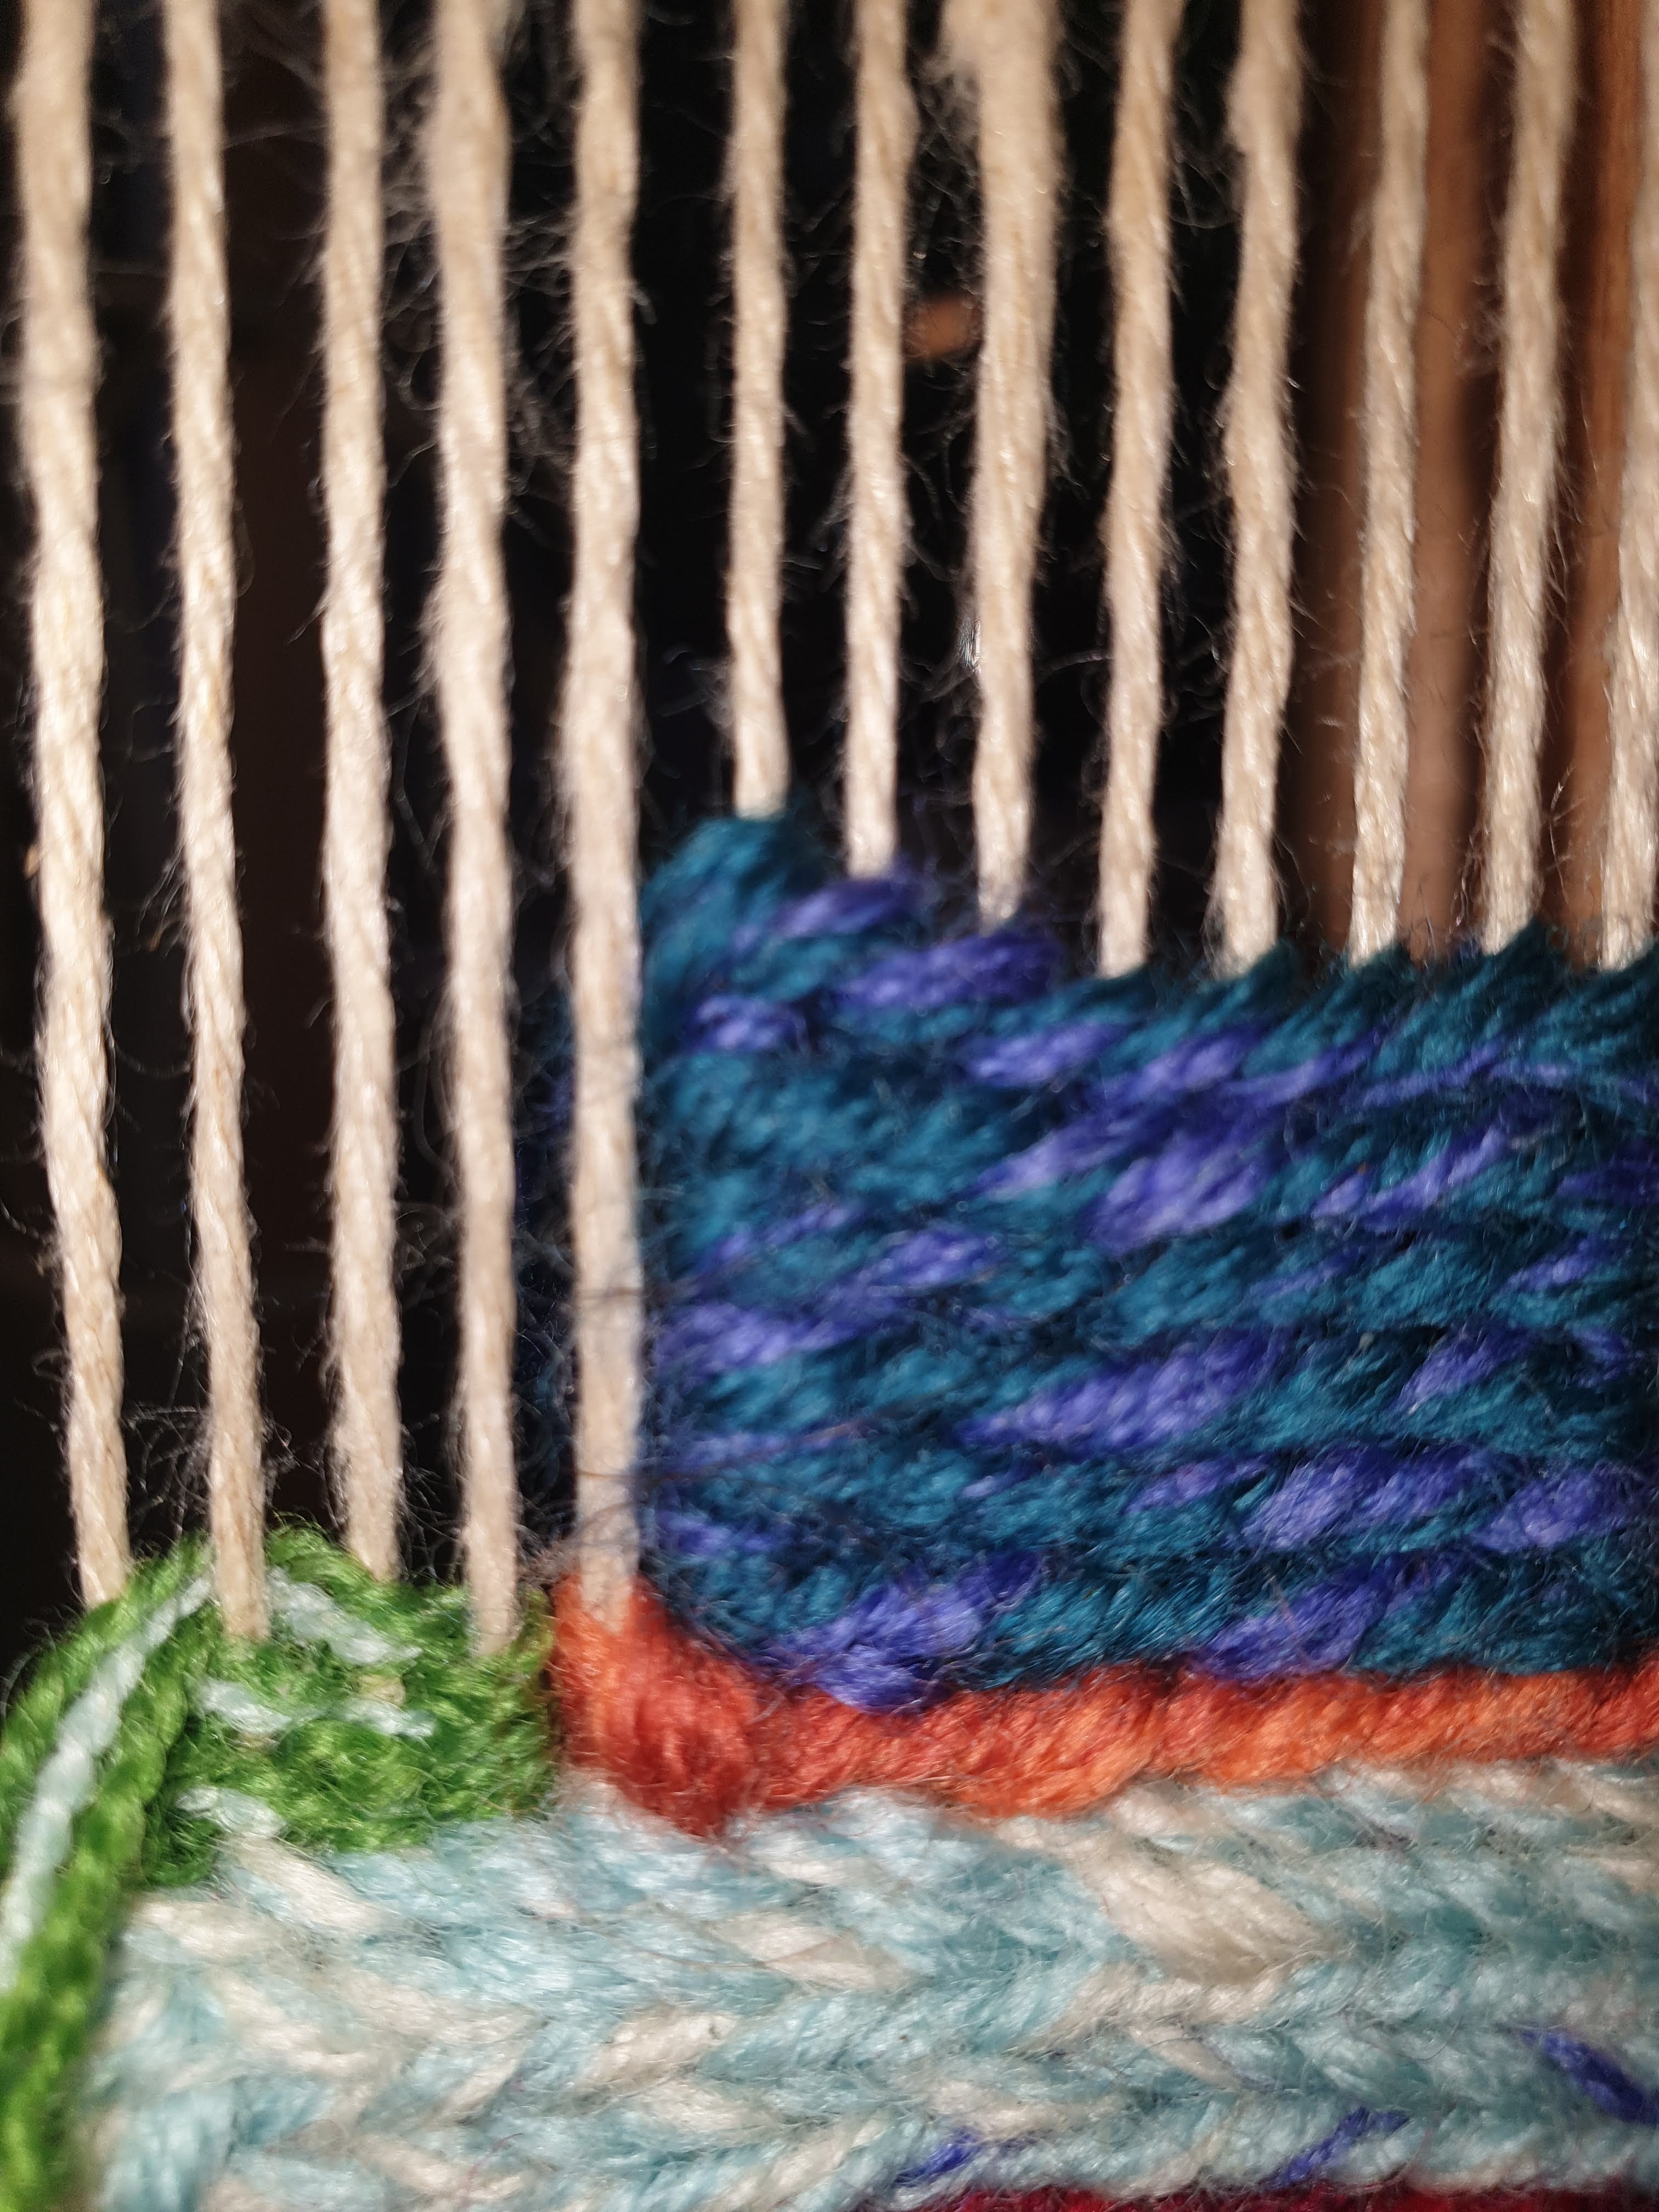
The supplementary warps were woven on the surface of the ground cloth and tucked behind when no longer needed. In the picture above the bottom three have been woven as loops, two at an angle and the middle one straight. The top row has two stuffed pockets and one wavy long loop.


The picture above shows the start of the supplementary warps.  I started weaving normally. I looped the supplementary warps around the existing warps. They are visible below the white header. When not being used the sup. warps stay at the back (nicely bundled to to keep them under control. When needed they are pulled through to the front. In this picture they are all at the front; only the middle group is tensioned.


Tension is applied by running the supplementary warps up and over the raddle. In this picture on the left is a sup. warp set under tension at an angle. The weaving of the middle set is finished and they have been passed to the back. The set on the right has been pulled through to the front and are just hanging around waiting for something to happen to them.


#4. This picture shows the sup. warp passing over the raddle.


#5 And here they are hanging down the back and tensioned with fishing weights. When a set of  warps are finished on the front the weights are removed and they are passed back through the main warps to the back of the loom. After weaving a few more picks of the main layer snug up the bit of supplementary weaving and secure at the back with with knots. When the work came off the loom I secured the long warp floats at the back with some tacking stitches.


The two pictures above show the weaving of the stuffed pockets. 


And these three pictures show the stages in weaving the wavy loop.

A crochet hook was invaluable and ready access to the back of the loom was essential.


Tuesday, January 29, 2019

Dish Cloths

Here in Australia the cloths available in the supermarkets are flimsy things that diintegrate after a few uses. I am now set up for life with these cloths that I wove using a mixture of 4 ply cottons.


I used a straight threading on 12 shafts and the weave structures are a mixture of basket weaves and huck. Started the project in April last year but it wasn't until January this year that I finished them off. Two of them are now in regular use.

T

Thursday, November 15, 2018

Selling my Glimakra/Toika Loom


After many happy years together I am sadly selling my main loom. 

Overview

The loom is a hybrid consisting of;
  • Frame, beater assembly, front and back warp, cloth and knee beams. GLIMAKRA STANDARD (120cm weaving width)
  • Shedding mechanism and harnesses; TOIKA EW24 CONTROL UNIT  (Dobby) with 24 SHAFTS

The photo below shows the loom. It is a Glimakra Standard with a Toika Control unit which can be seen on the top of the loom. The control unit manages each of the 24 shafts via weaving software which is installed on the laptop. The whole mechanism is activated by the pedal which can be seen on the floor.


Background

I bought the 10 shaft 120 cm Glimakra Standard Countermarch loom (2nd hand) in mid-2011 and later in the year I imported and installed the Toika EW24 Control unit. The installation involved removing the countermarch mechanism and shafts and replacing them with the Toika Control Unit and 24 shafts. My blog posts show what  was involved in this upgrade.
Since then this has been my main loom. I have found it the most versatile and easy to use set-up. I have enjoyed all the benefits of a big "European Style" loom combined with effortless operation and shaft configuration. Most of the posts in this blog after 2011 relate to work that I have done on this loom.

Toika EW24 Control Unit

The photos below show various views of the control unit. 


It has three connections;
  • Power
  • Computer
  • Pedal
The computer is loaded with Weavepoint  which provides the software element of the shaft control. The shafts are effortlessly raised and lowered by use of the pedal, The explanation of the operation is clearly explained on the Toika web site

Double Warp Beam

The loom is equipped with two warp beams. The picture on the left shows the double warp beam set-up whilst that on the right shows the operation with just a single beam. Note that this is a sectional beam.
I used two warp beams when I was weaving scarves with supplementary warps.

Glimakra Standard

For details about the Glimakra Standard Counter-march loom have a look at the Glimakra web site. I have kept all the counter-march components  (see photo below) so the loom can be reverted to its original state.

Original Specification Summary:
  • 10 shafts
  • 120cm weaving width
  • Dimensions 1.75m H x 1.60m D x 1.50m W
  • 48 warp sticks
  • 2 lease sticks
  • 10 lamms
  • 10 treadles
  • 1 fabric protection board
  • 4 rubber feet
  • 2 tie bars
  • 2 shaft holders


Accessories and Extras

The photos below show the accessories that are included with the loom.

  • 60 Warping sticks (46")
  • 4 Lease sticks (46")
  • 1 Raddle (takes 39" warp)
  • 8 Reeds (see picture below for condition)
48" 5 D
48" 12 D
48" 15 D
47" 18 D
40" 12D
40" 16 D
32" 10 D
30" 15 D


The manuals are shown below;


Also included is an elderly Dell Laptop (Windows XP) loaded with Weavepoint software and with the software disc.


Summary

To summarise, what is on offer is;

  • 120cm weaving width 24 shaft loom (Glimakra Standard) with automated control unit (Toika EW24)
  • Double warp beams
  • Accessories and reeds
  • Manuals
  • Computer and Weaving Software


What next

All I have to do now is decide on a fair and reasonable asking price and determine how to advertise it. And don't change my mind!


Wednesday, September 26, 2018

Sprang

I have been looking at my looms for over a year now; I think  that the time has come to give it away.
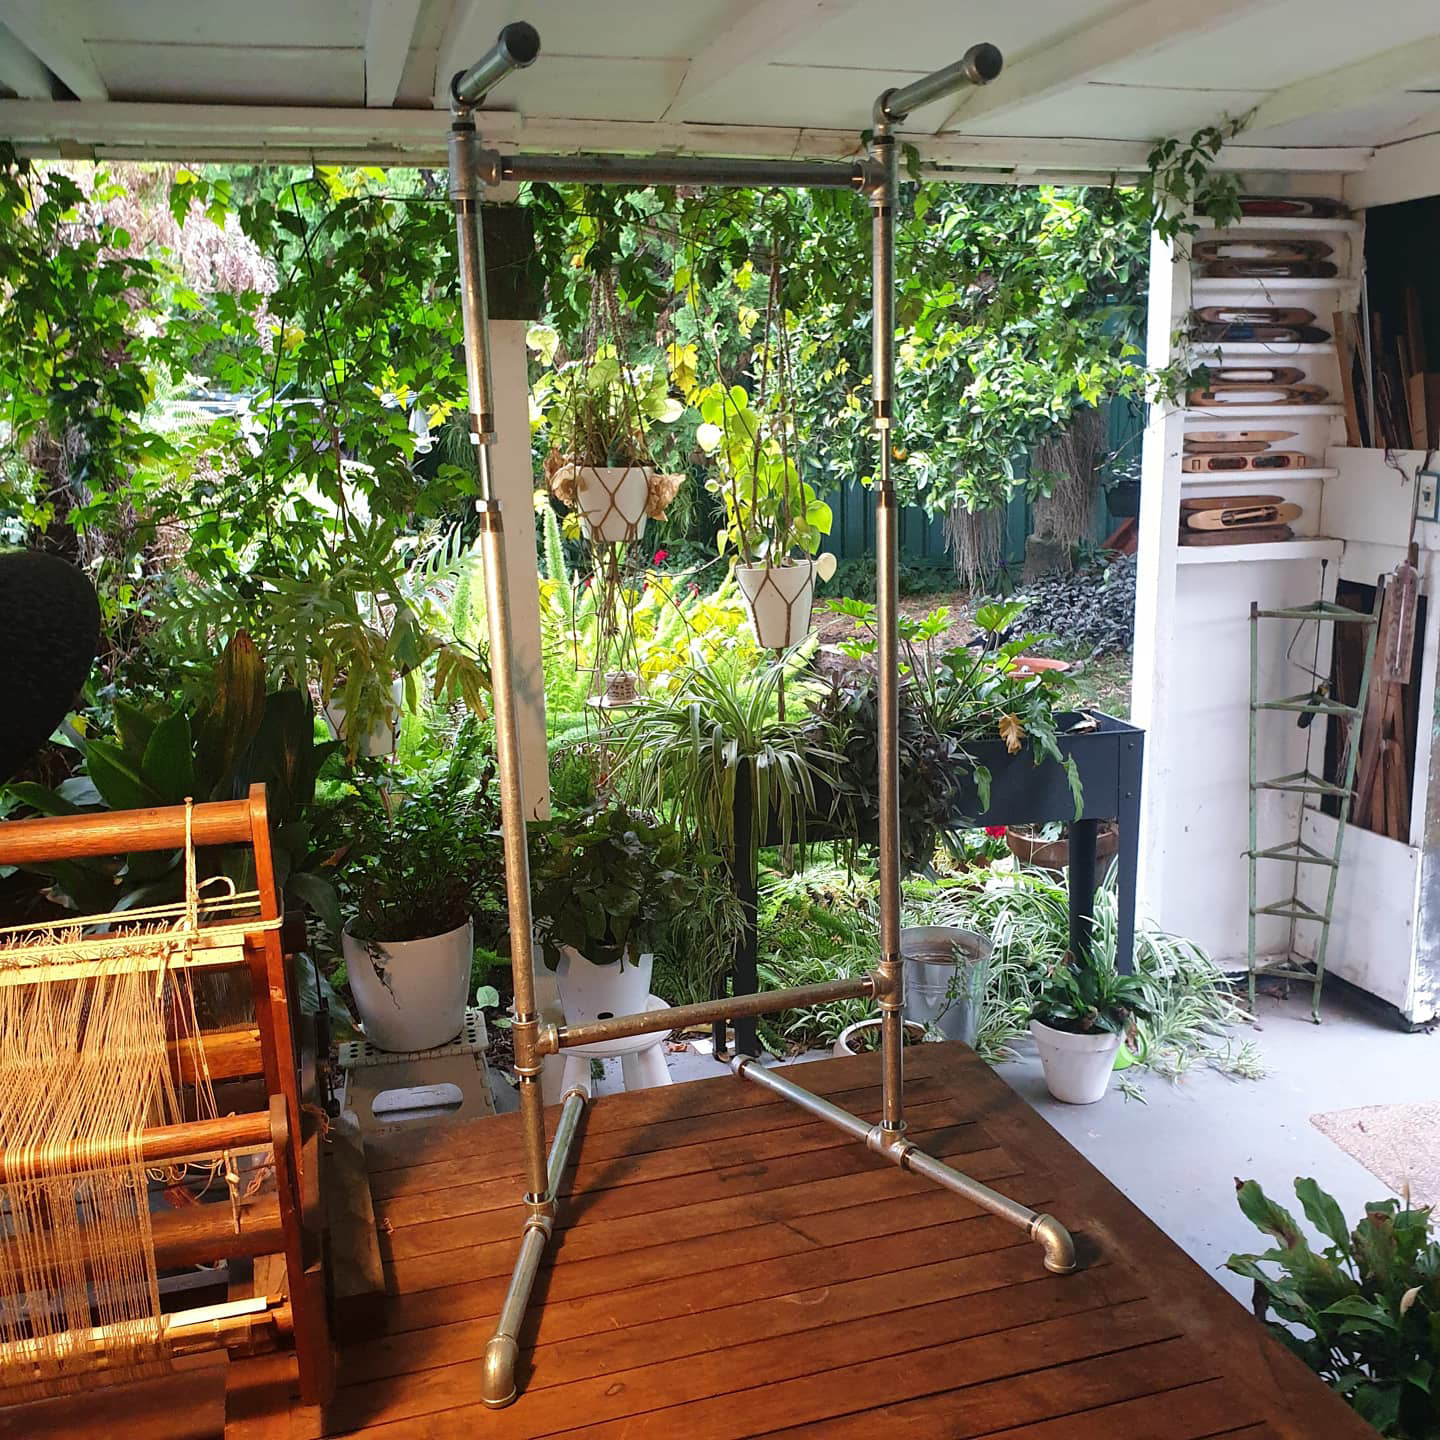
Now this Sprang looks quite interesting with a nice small footprint.

Monday, June 5, 2017

Rotary Temple fitted to AVL Workshop Dobby Loom

I bought a Rotary Temple from Fireside Looms some years ago and fitted it to a Leclerc Artisat. I subsequently sold the loom and the temple has been carefully packed away for about ten years.

I have an AVL WDL which I haven't used for about 6 years - I recently took it out of its packaging, gave it a good clean and got it ready to weave again. So that I could move it about I built a wooden dolly which the loom sits on very nicely.

Once the loom was on the dolly it occurred to me that the dolly might make a firm base for a framework to hold the rotary temple.  I  adopted a "suck it and see" approach to the design, clamping various bits of wood into place until I something that would hold the mounting brackets in the correct position. I screwed and glued it all together, put on the brackets and track and it works. I am still using clips to secure the framework in place until I think of something slightly more elegant.


Initial mockup with uprights clamped to the loom frame and sitting on the dolly


A slightly diferent set up


Bracket clamped in place

The arrangement had to be different on each side to allow for the ratchet handle


Final design - uprights on the left
Uprights on the right

Upright, bracket, track and temple
In use