Pages

Wednesday, July 11, 2012

Weaving in Kotay, Gujarat


On the 1st April this year my wife  and I visited the village of Kotay in Gujarat. We were a third into a twelve week trip we took earlier this year to India. My wife wanted yoga and meditation, I wanted textiles and we both wanted what ever India would serve up; we weren't disappointed on any counts.

We were in the village to look at the C10th Shiva Temple (which was very impressive and sad in the way that long abandoned buildings that have lost their people are).

In the village we tracked down the house of a weaver (with the help of some local youths who had decided to become our guides) and invaded his privacy. He was weaving a shawl  with some lovely inlay work. His loom was 4 shaft counterbalance with a fly shuttle and there were additional sets of heddles behind the shafts that were hand raised. As I was imposing on his time and I did not have his language I was unable to determine how these were threaded.

The diagram on the left is a scan of the notes that I wrote shortly after the visit.

This was my third opportunity to look at how hand loom weavers work in India and the equipment they use. I am still reflecting on the contrasts between the Indian production hand loom weaver and the western hobby weaver (me). I have yet to finalize my conclusions.

I have put the draft into my weaving software and I am happy to say that I can do it on a straight 24S threading  I am not sure however that I have the patience.


Tuesday, July 3, 2012

Diamonds and curves

Well, the streaky twill scarf is finished and is hiding on the cloth beam whilst I work out what I am going to do for the next scarf. I played around with the profile draft for my threading and came up with a traditional looking diamond pattern.

I used the block substitution feature on my weaving software (Pixeloom) to come up with a draft that looked quite nice. I have built up a small library of twill blocks that I can use for substitution so rather than using the traditional blocks with a clear cut and straight twill lines (on the left) I used the one on the right one which is much gentler and kinder to the weaver with a variable beat. The drafts on page 61 of "A Weavers Book of 8-Shaft Patterns - Strickler" shows what I mean.


I wove a little bit of sample and it all looked good.


After my supper I went back to the loom and looked at what I had woven and I looked at the draft and after a bit of contemplation I decided that whilst what I was about to weave would be very nice as a table runner it would not be so good as a scarf.
A scarf must envelop and flow. I have a very nice scarf that I wove in red and black waffle weave which I was very pleased with at the time but which I wear less and less nowadays because it is not "scarfy" enough. It looks fine but does not sit round my neck in the same comfy way that a scarf in Brighton Honeycomb does. I decided to abandon this draft and come up with something else.

The joys of weaving software! My threading was a given but I could do what I liked with the tie up and treadling. I finally came up with this. The curved treadling is from Sandra Rude ( it was an article on the web where I got this threading and also the idea of  dedicating 4 shafts on a 24 shaft loom to the selvedge).Whenever I see a nice threading, tie up, treadling  or colour scheme I do a small draft and put them in my "Weaving Elements" folder. The tie up is of my own devising which I had to fiddle around with a bit to get rid of some long floats. It needs a bit more work; I "reflected" the treadling which doesn't quite give the right effect. A bit more work and then it gets woven!


 PS - Sorry about the text back grounds and inconsistent breaks between the paragraphs. I know that Mr Google provides this software for free , but....


Tuesday, June 12, 2012

Twill streaks


I am still fretting over the quality of my latest bit of weaving.

The twill line seems to be fairly regular and the selvedges are OK. What concerns me is the "streaking" effect that I am getting. Light on dark twills are not that forgiving on irregularity of the beat. On inspection I can see that the streaks are occuring at fairly regular 1" intervals which probably correspond to the regular advancement of the temple and the moving forward of the beater.  I suspect  that when I get the piece of the loom I will find some evidence of where the warp has been advanced every three inches.  This is not a smooth process as the back beam jerks forward when I release the ratchet. Every time I advance the warp it goes from  full tension to no tension and then back to full tension which is probably not the same as the original tension.

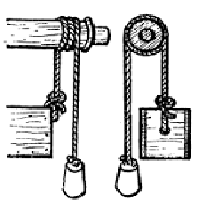
I  thought that the situation might be helped by putting some weights and rope  at the back to create a live tension system. This will resolve the problem of jerking the warp whenever it is advanced.

The photo on the right shows what I have done. I played around with the weight and settled on one 10lb weight (plus the weight of the bar). The warp tension is now set at a constant as determined by the weights. 

There might be a slight improvement - it is hard to tell. I shall press on and see what it looks like after washing. If there are still problems I shall dye the scarf black and move on!

On this page (http://gangewifre.blogspot.com.au/2011/09/lace-shawl.html) I describe how I put  similar system on my AVL WSD loom and here (http://www.avlusa.com/files/4413/1558/5586/autowarp.jpg ) is a picture from the AVL website showing the general principal.


Saturday, June 2, 2012

Oh gosh!

My excuse is that I have had a long lay off. I have been in India for 12 weeks and I didn't do much weaving for a month before. The photos below are of the sample section, trying various pattern possibilities on this threading.

The plan will have to be changed a bit - at the moment my beat is so uneven that I can't maintain any significant area of twill. I shall weave a striped scarf (the last bit of the sample) which will be kinder on my wobbly twill line. The draw in and selvedges are dodgy as well! I have to think about tension overall and the tension of the selvedge thread as well.

The answer is to weave myself back in! No matter, my tennis is rubbish at the moment as well!


Friday, January 6, 2012

Weaving again

Finally I have started weaving again. I am weaving a simple alpaca scarf with a forgiving draft. The design is derived from a 3/3 six shaft twill that I used as a profile draft and then substituted in broken twill (or are they satin?) blocks.

There is a nice 2" shed, the pedal operates the shafts, the monitor shows progress and position and I can focus on the weaving. Bliss.


Monitor Positioning and Lighting

Whist threading the loom I put a threading draft onto the computer and used this to "treadle the threading".  This was easy as I could put the pedal on the stool  next to me and operate it by hand. I had the control unit in slow mode where one press of the pedal opens the shed and another press closes the shed. In the past I have found it difficult to treadle the threading on other looms because the low height of the stool that I use for threading meant that I coudn't operate the treadles.

I slight problem was finding a suitable location for the laptop computer. I had it to one side on a small table but this was not ideal. I finally came up with the arrangement shown in the photos below. 

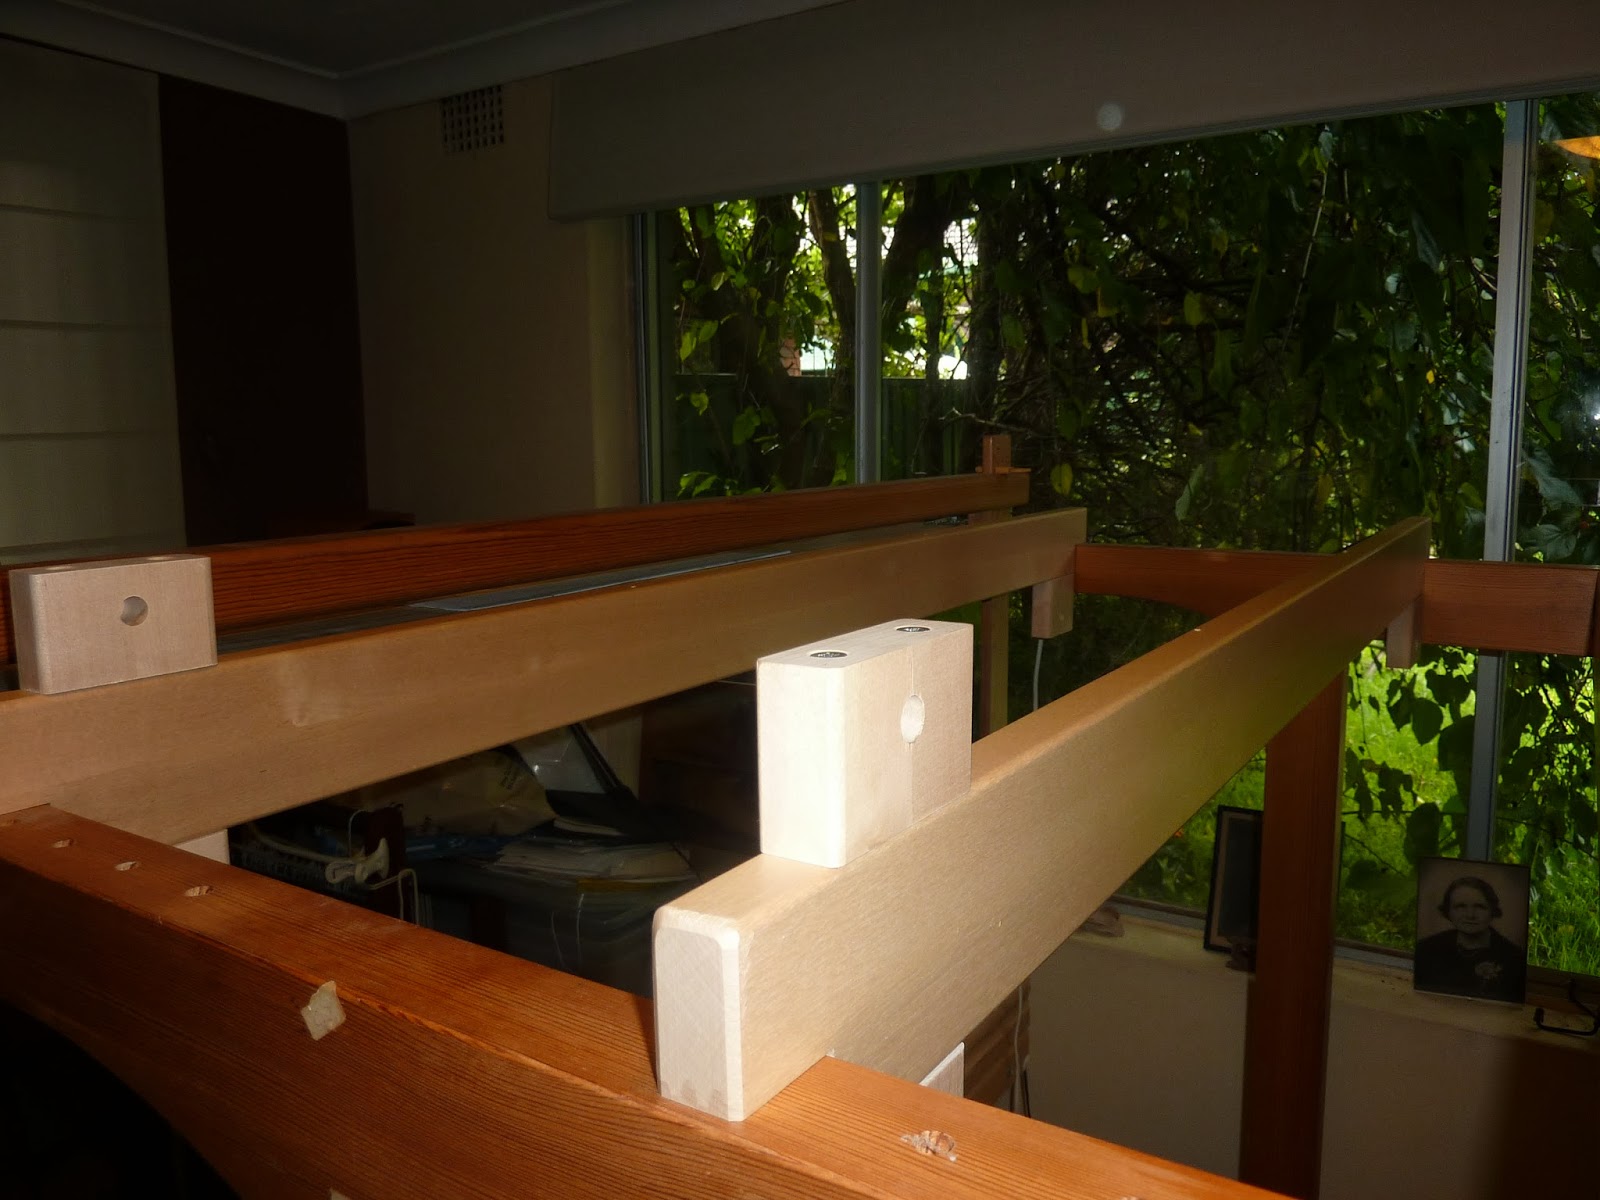
A shelf of a light fibre board is put on top of the top rails that hold the control unit. The laptop computer sits on top of the shelf. It can be seen in the photograph below to the left of and behind the penguin.


The rails from old jack assembly to suspend a computer monitor behind and above the shafts. The rails are held firmly in place with pegs and a bit of texsolve - any slippage would be disastrous! The arrangement is a bit industrial but it works,


 Drafting is done on another computer and transferred on a memory stick using the USB port in the side of the monitor.


The computer is operated by a wireless mouse which sits on the weaving bench. It is not connected to the internet, there is no need to use the keyboard (which I can at a pinch standing on tip toes)

Another add on is a small neon light that I have attached to the back of the beater using texsolve. I have positioned it low enough so that it shines forward through the reed and lights up the fell. I used to have a plethora of clip on lights but this single light does the job much better.


Toika Control Unit onto a Glimakra Standard - Levelling the shafts


Where was I? Christmas and New Year and the lead up were a whirlwind and whilst I was able to snatch bits of weaving time there was no time left to blog.

When I last wrote I was feeling very pleased with myself having successfully put everything together and demonstrating that I had a working loom.

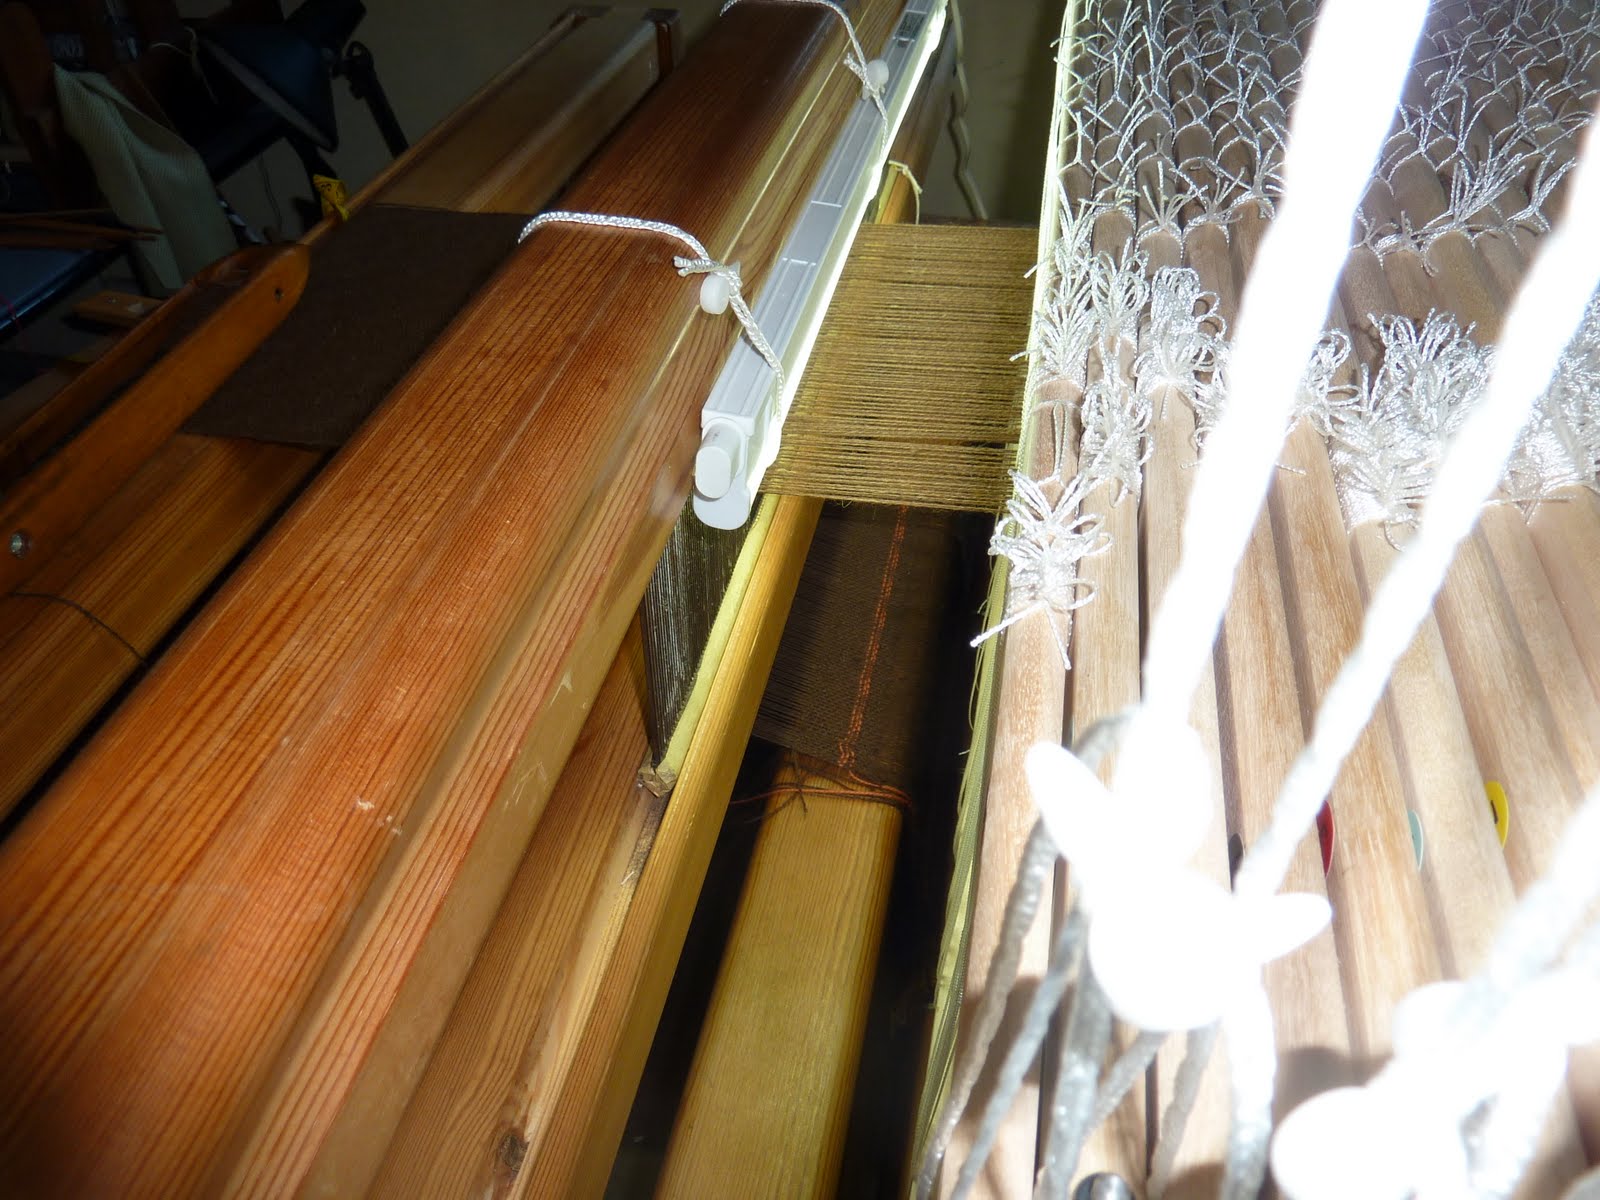
The next task was aligning and straightening the shafts. The photo on the left  shows a red cord that I ran between the front and back beams; this was aligned with the bottom of the heddle eyes on the front and back shafts.

I used a small spirit level to ensure that the shafts were level  and then I ran two  cords across the tops of the shafts on each side (yellow cord in the photo below) and used these to aligned the rest of the shafts to the front and back shafts.

Once this was done the loom was ready to thread but I didn't get back to this until after Christmas.


Sunday, November 20, 2011

Toika Control Unit onto a Glimakra Standard - Nearly finished!


It has been a busy week at work and the lovely weather this weekend lent itself to tennis,cycling and a bit of swimming. In spite of all these distractions I have virtually finished the installation - I just have to do a bit of adjustment of the harnesses and then I am ready to thread, sly and weave as I already have a warp sitting on the back beam.

I finally got the harnesses finished on Friday evening and have been hanging them over the weekend. It was just a case of follow the instructions and try to get everything as level as possible from the outset. I have a small spirit level that sits on top of the shafts and I got all the shafts sitting neatly on two broom handles before I tied them up.

There was one slightly hairy moment when the weight of the shafts pulled the control unit across to one side - hence the two pieces of crenelated wood that can be seen in one of the pictures [they are the shaft holders that I won't be needing any more].


I had previously loaded the WeavePoint software onto a laptop and it was a matter of minutes to connect the unit up to the power and the computer and, hey presto, it all worked  first time, immediately!  I pressed the peddle and shafts moved up and down according to the draft so I poured myself a cold beer and that's it for this weekend. Brilliant!


Monday, November 14, 2011

Toika Control Unit onto a Glimakra Standard - Day 2

Nothing very exciting today; just putting the harnesses together. You start of with this;


and end up with 24 of these;


The way that the harnesses are put together is quite neat - rubber "O" rings that fit into indentations on the metal rods that connect the top and bottom heddle bars at each side and hold it all nice and snug. Much less stressful than the methods where the bottom heddle bar just dangles on the heddles. 
I did 12 harnesses tonight so I should be able to knock the rest off tomorrow.


Sunday, November 13, 2011

Toika Control Unit onto a Glimakra Standard - Day 1

The story so far...yesterday I unpacked  the parts of my new Toika EW24W Computer Control Unit. Today I start fitting it to my Glimakra Standard.

The first job was to remove everything to do with the jacks, shafts, lamms and treadles on the Glimakra. A bit of a pity as it took me an age and a lot of effort to put it all together in the first place. The end result of all this work was a table covered in sticks and string and an empty loom.


The computer unit sits on two rails that that fit across the top of the loom and rest on the castle at each side just behind the beater assembly. The instructions are precise as to their orientation and they fitted exactly.


Having done that the pulleys have to go on. There are three sets of 24 pulleys which are mounted on three rods which are threaded through holes in the rails an held in place by cotter pins. Again I just followed the instructions.


.
As the photos below show the two sets attached to the right hand side of the rails. There is another set on the left.


Once the pulleys are in place on their rods the rails are at the correct distance apart to receive the control unit. This lifting up and positioning was a two person job but straight forward. The unit sits neatly on top of the rails.


There holes on the bottom of the rails that probably align with holes on top of the castle for Toika looms so that a dowel peg can keep the rails in the correct place on the castle. They didn't align with any of the holes on the Glimakra because I have the front rail tight up against the beater assembly. However a hole just behind the back rail took a peg which will stop the rails from moving.


I think that this position will be OK but it isn't I will just have to adjust it later on. The aerial view to the left shows how it all fits snugly together.

That it for today. Tomorrow evening after work I will start putting the harnesses together.

Saturday, November 12, 2011

Toika Computer Control Unit

After a journey from Finland to Australia, a journey of about 10,000 miles for an energetic crow but longer by boat, my Toika EW24W has arrived. I combined the order with Liz and she did all the messing around to get our boxes through customs and quarantine - quite a palaver for her.

So far all that I have done is unpack the parts, read the instructions and looked at everything closely to identify what it is and workout in my mind where they all fit into the great scheme of things.


There is one problem that I need to address first. As I have been using my AVL recently the Glimakra Standard to which I am going to fit all this has become a bit of a dumping stand. Clearing all of this stuff and finding homes for it will be the first job for tomorrow.

Sunday, November 6, 2011

Novelty Yarn Scarf

I have started weaving the Novelty Yarn scarf that I referred to in my previous post. I started off weaving it as plain weave but the problem was that the eyelashes of the weft became trapped under the warp. I have changed to weave to Brighton Honeycomb which gives me some longer floats to let the weft show itself off. It looks rather like slightly hairy chain mail at the moment but I am sure that with wet finishing and a bit of tweaking I'll get it looking suitably furry.


Saturday, October 29, 2011

Home made warping

I popped into my nearest Spotlight store and bought some novelty yarns so that I can get some scarves woven quickly for Christmas - target audience is nieces and granddaughters. The first scarf will be based loosely on "Saturday Scarf" in Handwoven November/December 2005. The yarns I shall use are Moda Vera Crystata [50m/50gm] and Moda Vera Jazz [60m/50gm].


In an attempt to save time I set up some home made warping equipment using a multi-bar trouser hanger as my spool rack and a plastic mitre box and some old combs as my tension box. As my sett was to be 6epi I didn't bother with measuring; I wound six  50 metre balls straight onto the spools.


It worked quite nicely even if it all was a little bit industrial.

I am still playing with how I use the sticky warp beam for tying on the warp. I tied the warp into bouts of six ends and then weighted each one individually before placing it over the sticky beam. I then wove in a two stick heading and tied the apron rod directly on to that. This way is certainly quicker that tying knots or lacing on and I seem to be getting a nice even tension by virtue of having it provided by weights. At the moment the method is fairly wasteful of warp - 12" before the stick heading but I am sure that I can improve on that.


Tuesday, October 18, 2011

Three Shawls

Having resolved my selvedge problem I wove a further two shawls using novelty yarns as the weft. It all worked very nicely and they were a joy to weave.


I used Paton's Sorrento for the weft on a lacy shawl - it's OK [just] but there are too many completing elements with lace and a very nubbly yarn combined. I will use the yarn again but in a different combination - probably just a very open plain weave.

So, now I have to decide what to do next. Looking at my shelves I don't seem to have a shortage of yarns with a good selection that I bought in America a couple of years ago.


The trouble is that I got carried away with the colours and bought lots of little bits. For example I bought 2/18 wool in 8 colours but not more than 2oz of any particular one. I shall have to do few calculations to see what I can come up with. Whatever I weave next there must be movement, bumps and puckering!